 |
| Engineering Day: Gelatin Shake Tables |
| January 17, 2019 |
|
Oh, my lord -- this journey! Long story short (so I can give you a long recipe below): 4th grader's class needed 15 gelatin squares made by parent volunteers for Engineering Day at school. They are putting them on shake tables and building structures out of marshmallows and toothpicks that can withstand earthquakes. I was one of two parents who volunteered to make them, and hijinks ensued when I tried to follow the Jell-O brand recipe for their edible Jigglers.
Save yourself time. DON'T do that. If you want my full blow-by-blow and descent into gelatin-fueled insanity, check out my Twitter thread on it but I warn you: there's swearing.
Gelatin Squares for Shake Tables
Yield: Four 4"x4"x1.5" gelatin squares
8 tbs of Knox brand unflavored gelatin (do not use Jell-O, it doesn't solidify adequately and these aren't meant to be edible anyway)
1 cup cold tap water
5 cups boiling water
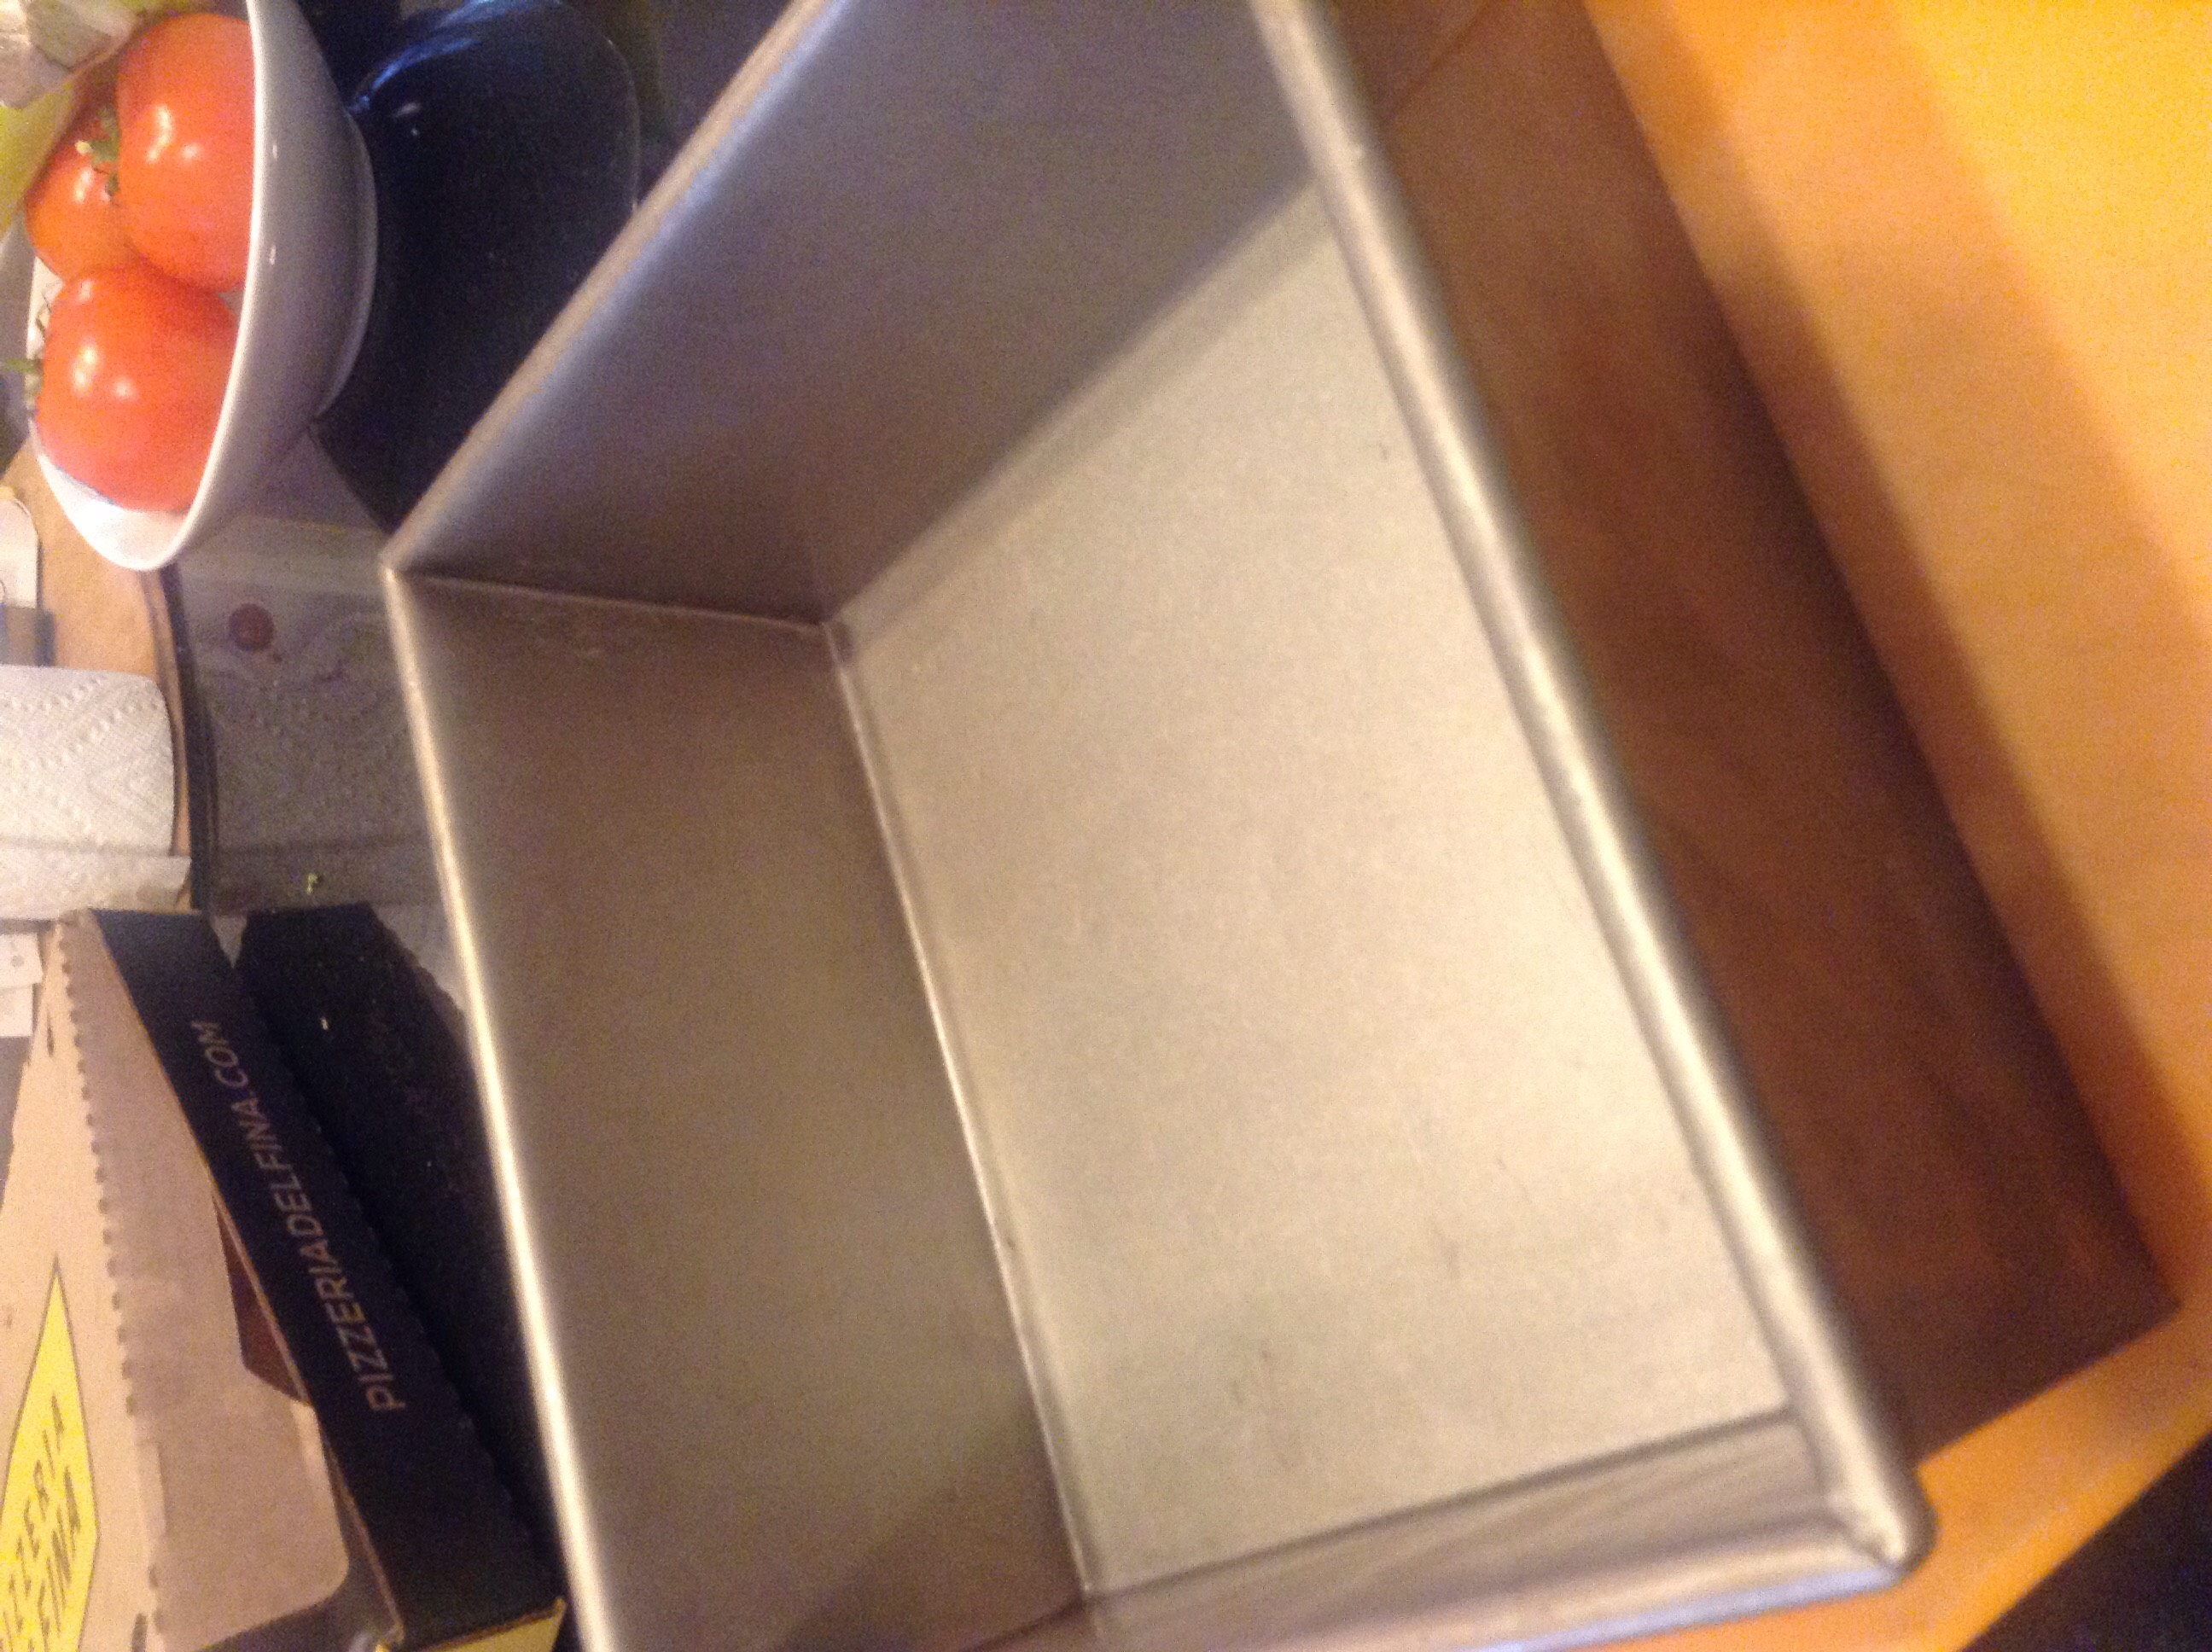
Pan: ideally, a high-sided 8x8 square pan with 2 inches of depth, or a comparable 9x13 rectangular pan. I do not recommend cookie sheets because they are shallow, which makes it extremely hard and dangerous to put them in the fridge without dumping boiling water all over yourself. This recipe's yield of four 4"x4"x1.5" gelatin squares is based on using an 8x8 square pan. However, other pans can be used, just be aware that the thickness of the squares will vary.
This is the pan I used:
Step 1: Plan ahead.
The gelatin needs three hours in the fridge to cool and stabilize. Make sure you have enough room in your fridge for the pan before you pour in the boiling water.
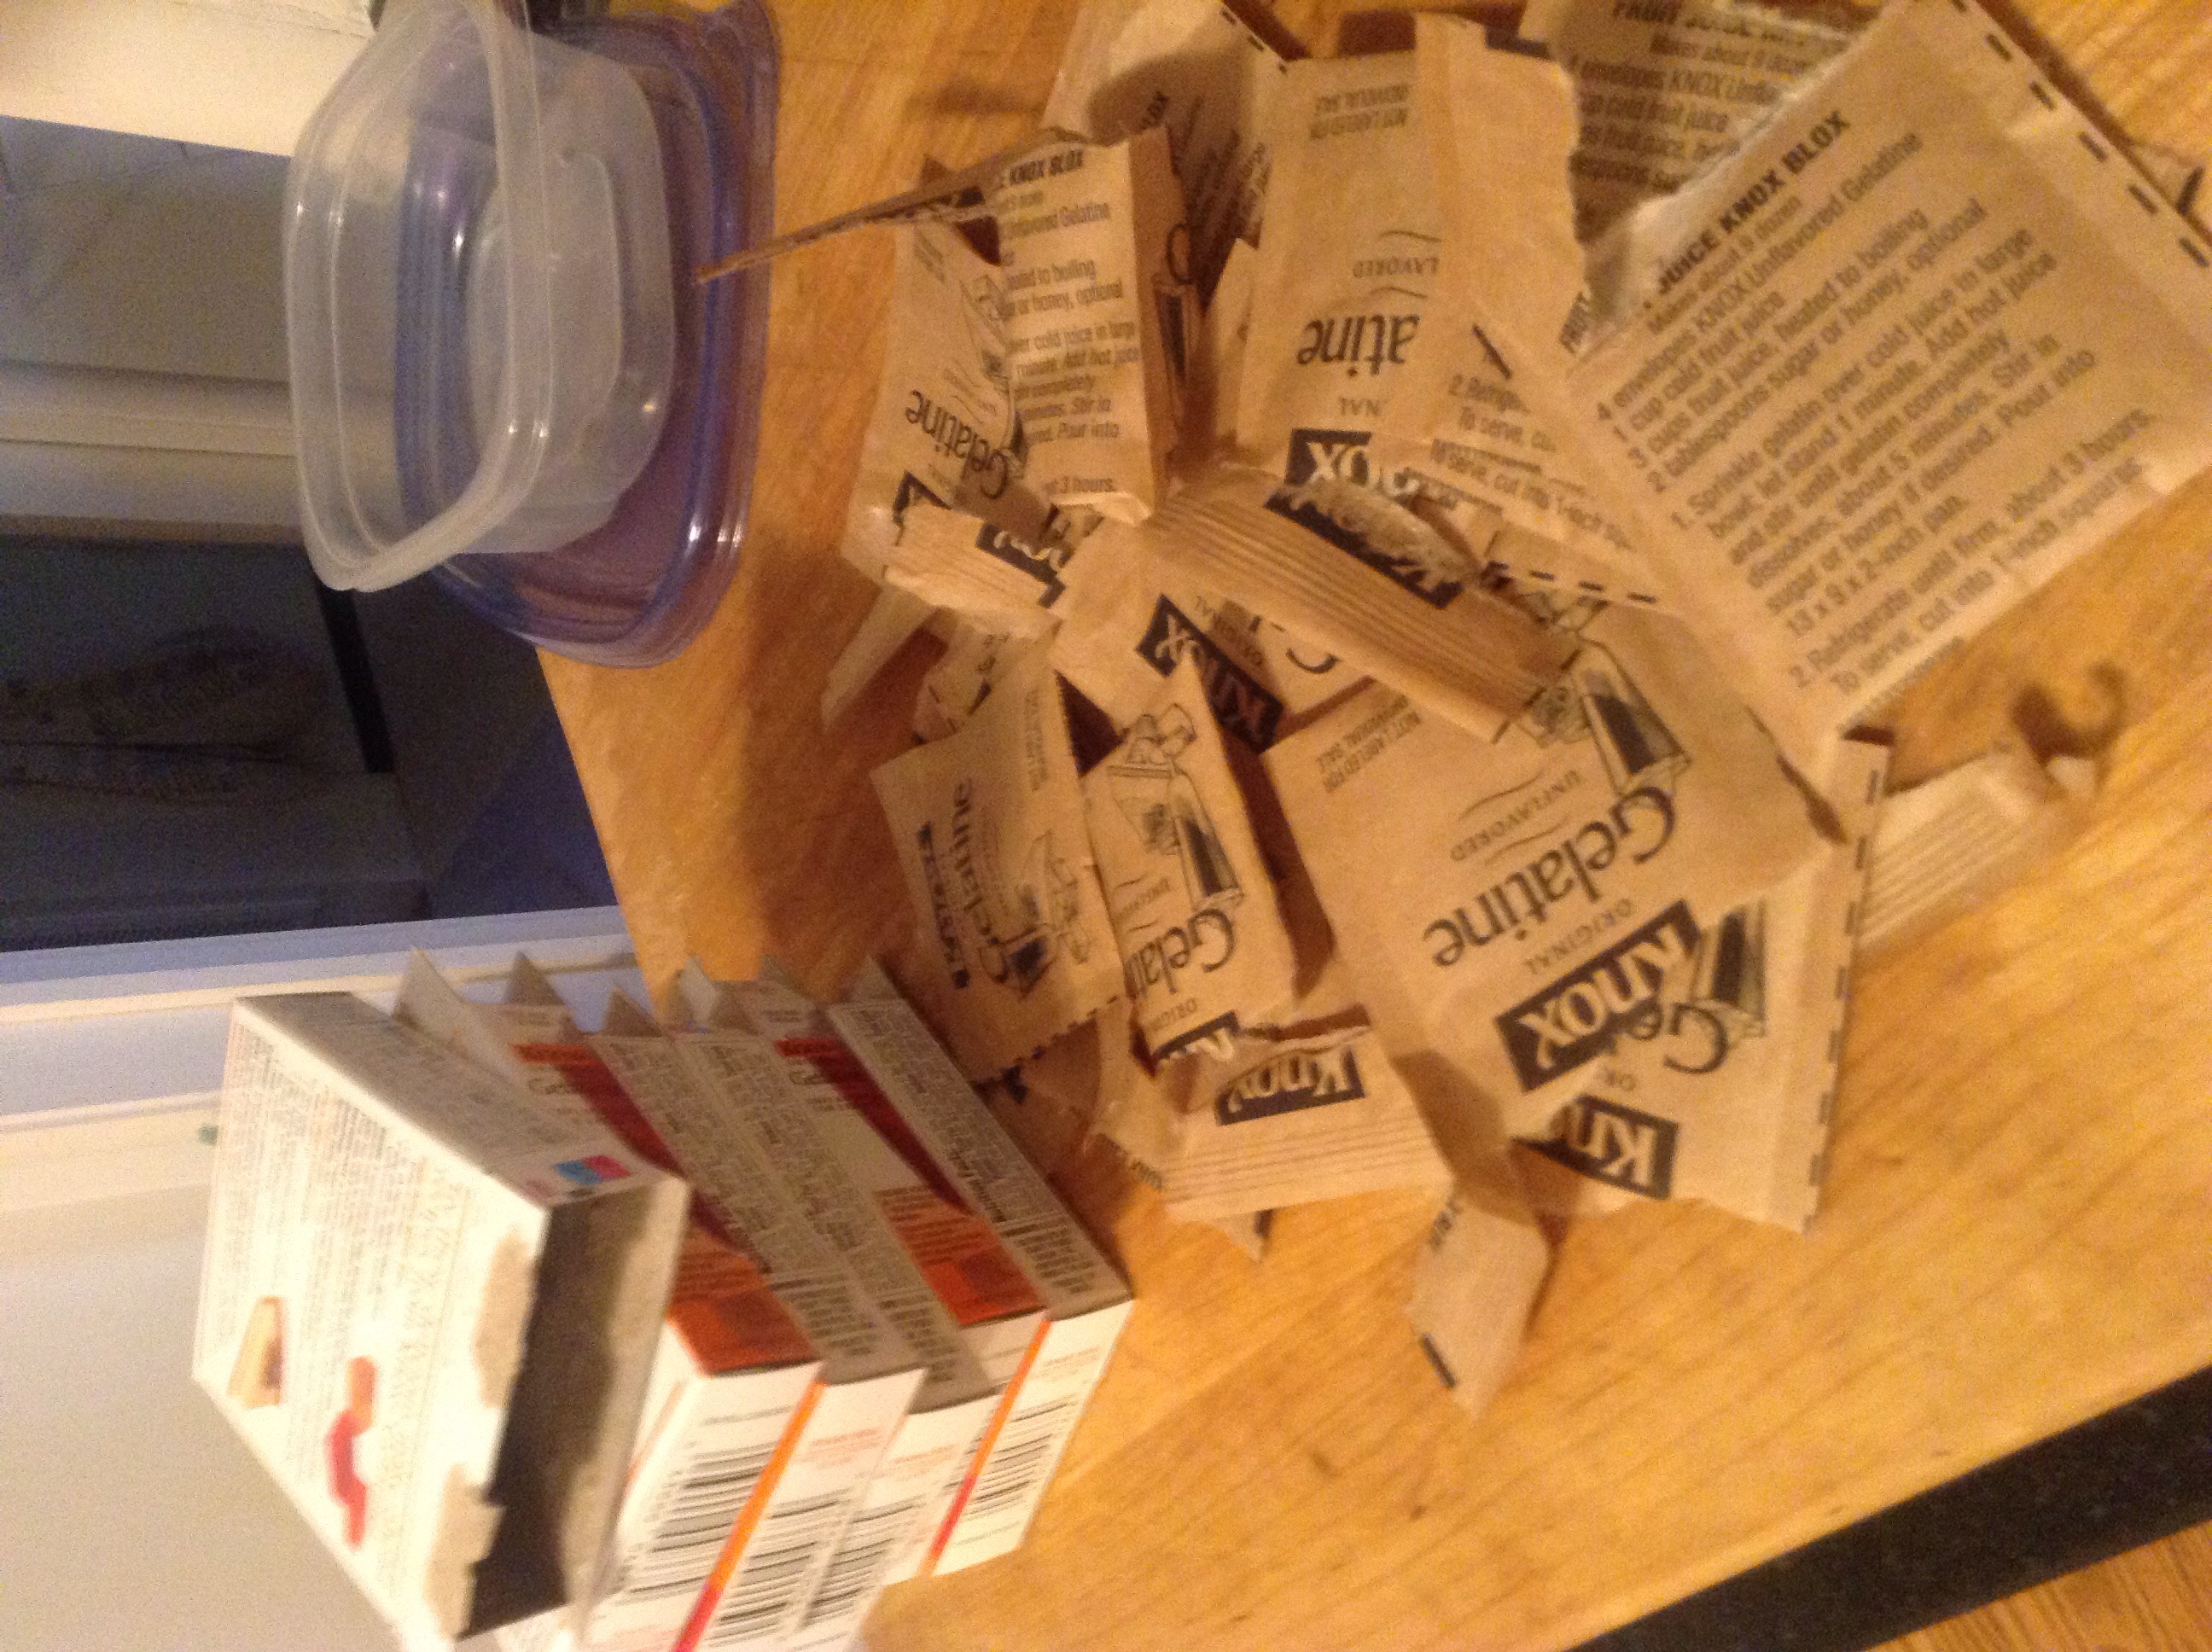
Step 2: Measure out 8 tbs of gelatin.
If you can find Knox in bulk, that's your best bet. It will take about four of the small boxes (which contain 4 envelopes of .25 oz of gelatin each) to get 8 tbs. Rip open the envelopes, dump them all in a bowl, and measure out 8 tbs.
Step 3: Bloom the gelatin.
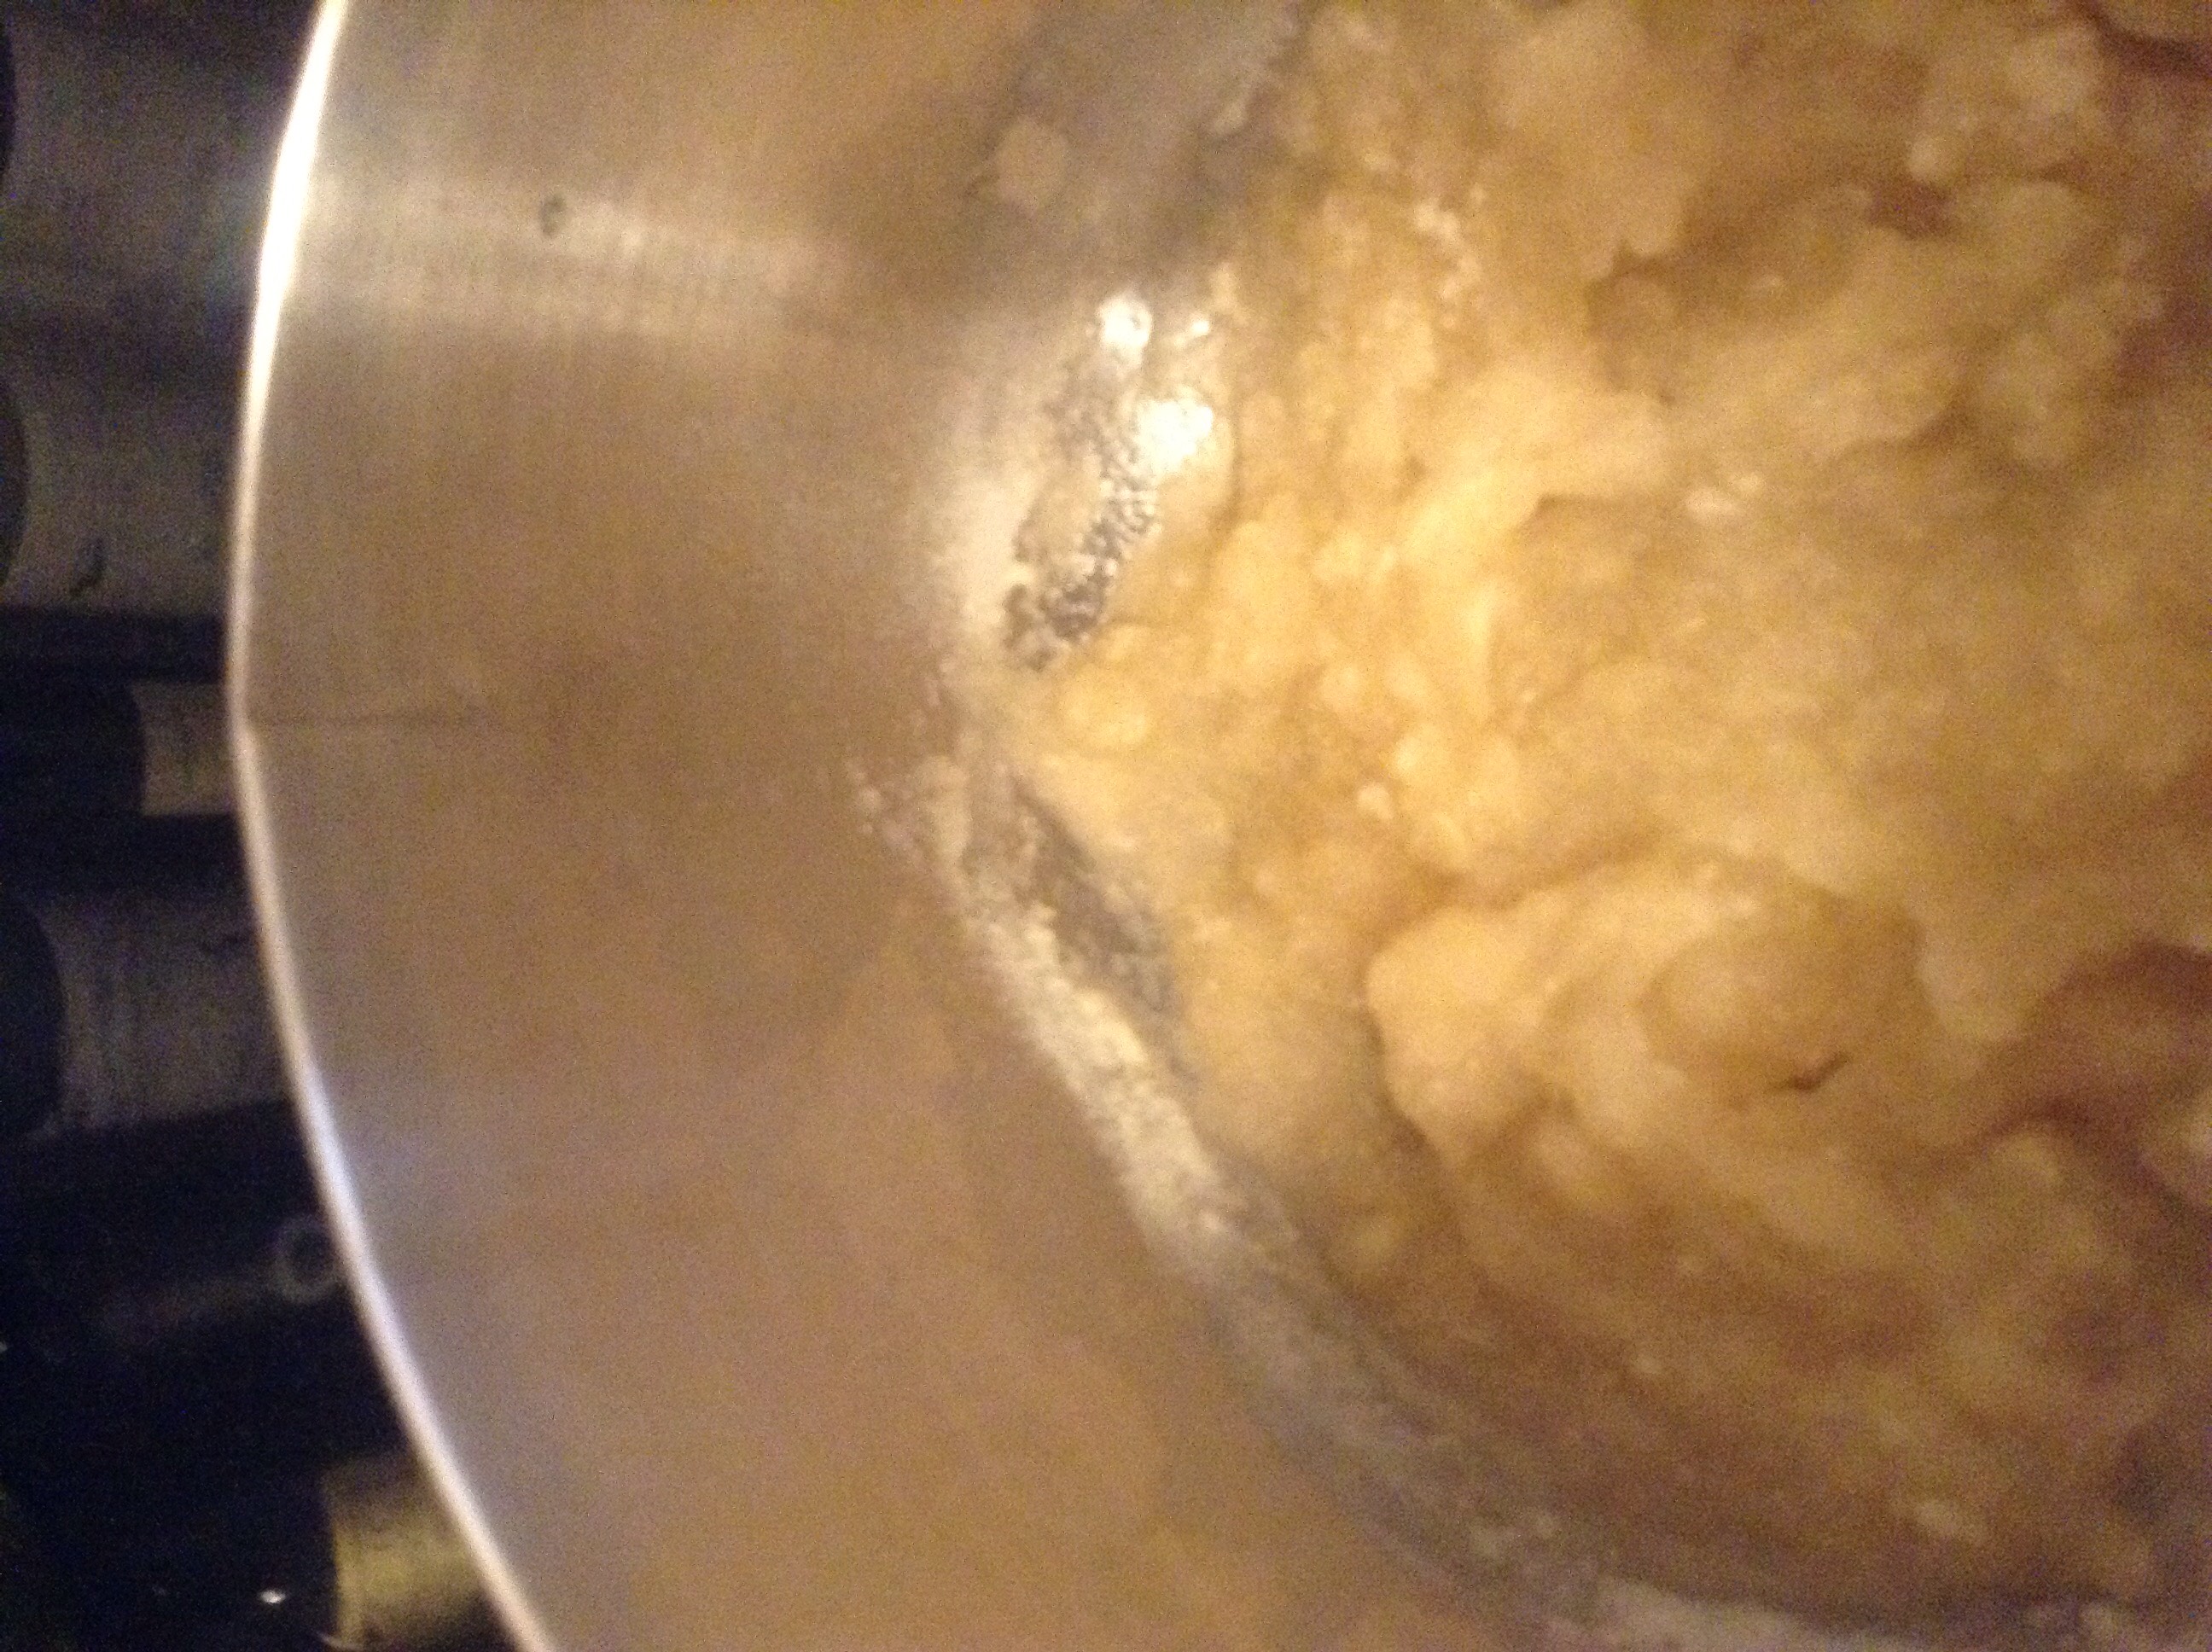
In a bowl large enough to comfortably contain 6 cups of water, add 1 cup cold tap water. The temp doesn't matter all that much here, you just don't want it to be warm or hot. Sprinkled the 8 tbs of gelatin over the water and stir for about 1 minute to get it to dissolve as best as possible.
It will look like this (don't be scared):
Step 4: Add the hot water.
Pour the 5 cups of boiling over the bloomed gelatin -- by now, a solid mass -- and stir for 5 minutes to dissolve best as possible.
WARNING: if you try to add the gelatin directly to the boiling water without blooming it first in the cold water, you will shock and cook the gelatin, making it hard to fully dissolve. I did this by mistake and ended up with a stable batch that had hard pieces of undissolved gelatin hanging out in it. It looked gross, which is fine since the kids aren't eating it, but it's not best practices, because you really want all your gelatin fully activated for the best stabilization.
Step 5: Add to pan.
Pour your gelatinous water into your pan and chill in the fridge for 3 hours.
Step 6: Loosen the gelatin.
After chilling, stick the bottom of the pan in warm water for 15 seconds. If your sink isn't large enough to accommodate your pan being set fully in it, I recommend filling a cookie sheet pan with warm water and setting your gelatin pan in that. Loosen the edges of the gelatin by running a sharp, thin-bladed knife around the edges of the pan/gelatin.
TIP: If you are using an 8x8 pan, it will be hard to cut and get all the pieces out intact without unmolding the whole thing first and cutting second. However, if you are using a larger pan with different dimensions, you will be able to cut the squares in the pan. Just be mindful that, just like with that first piece cut from a pie, the first square cut might be destroyed as you try to dig it out. The rest will come out more intact after that first one is sacrificed.
Step 7: Unmold the pan.
Place a cutting board to cover the entire open top of the pan, then quickly invert the pan over it so that the cutting board is on your counter and the pan is upside-down on it. Give the pan a few thumps all around and a light shake or two to dislodge the gelatin onto the cutting board.
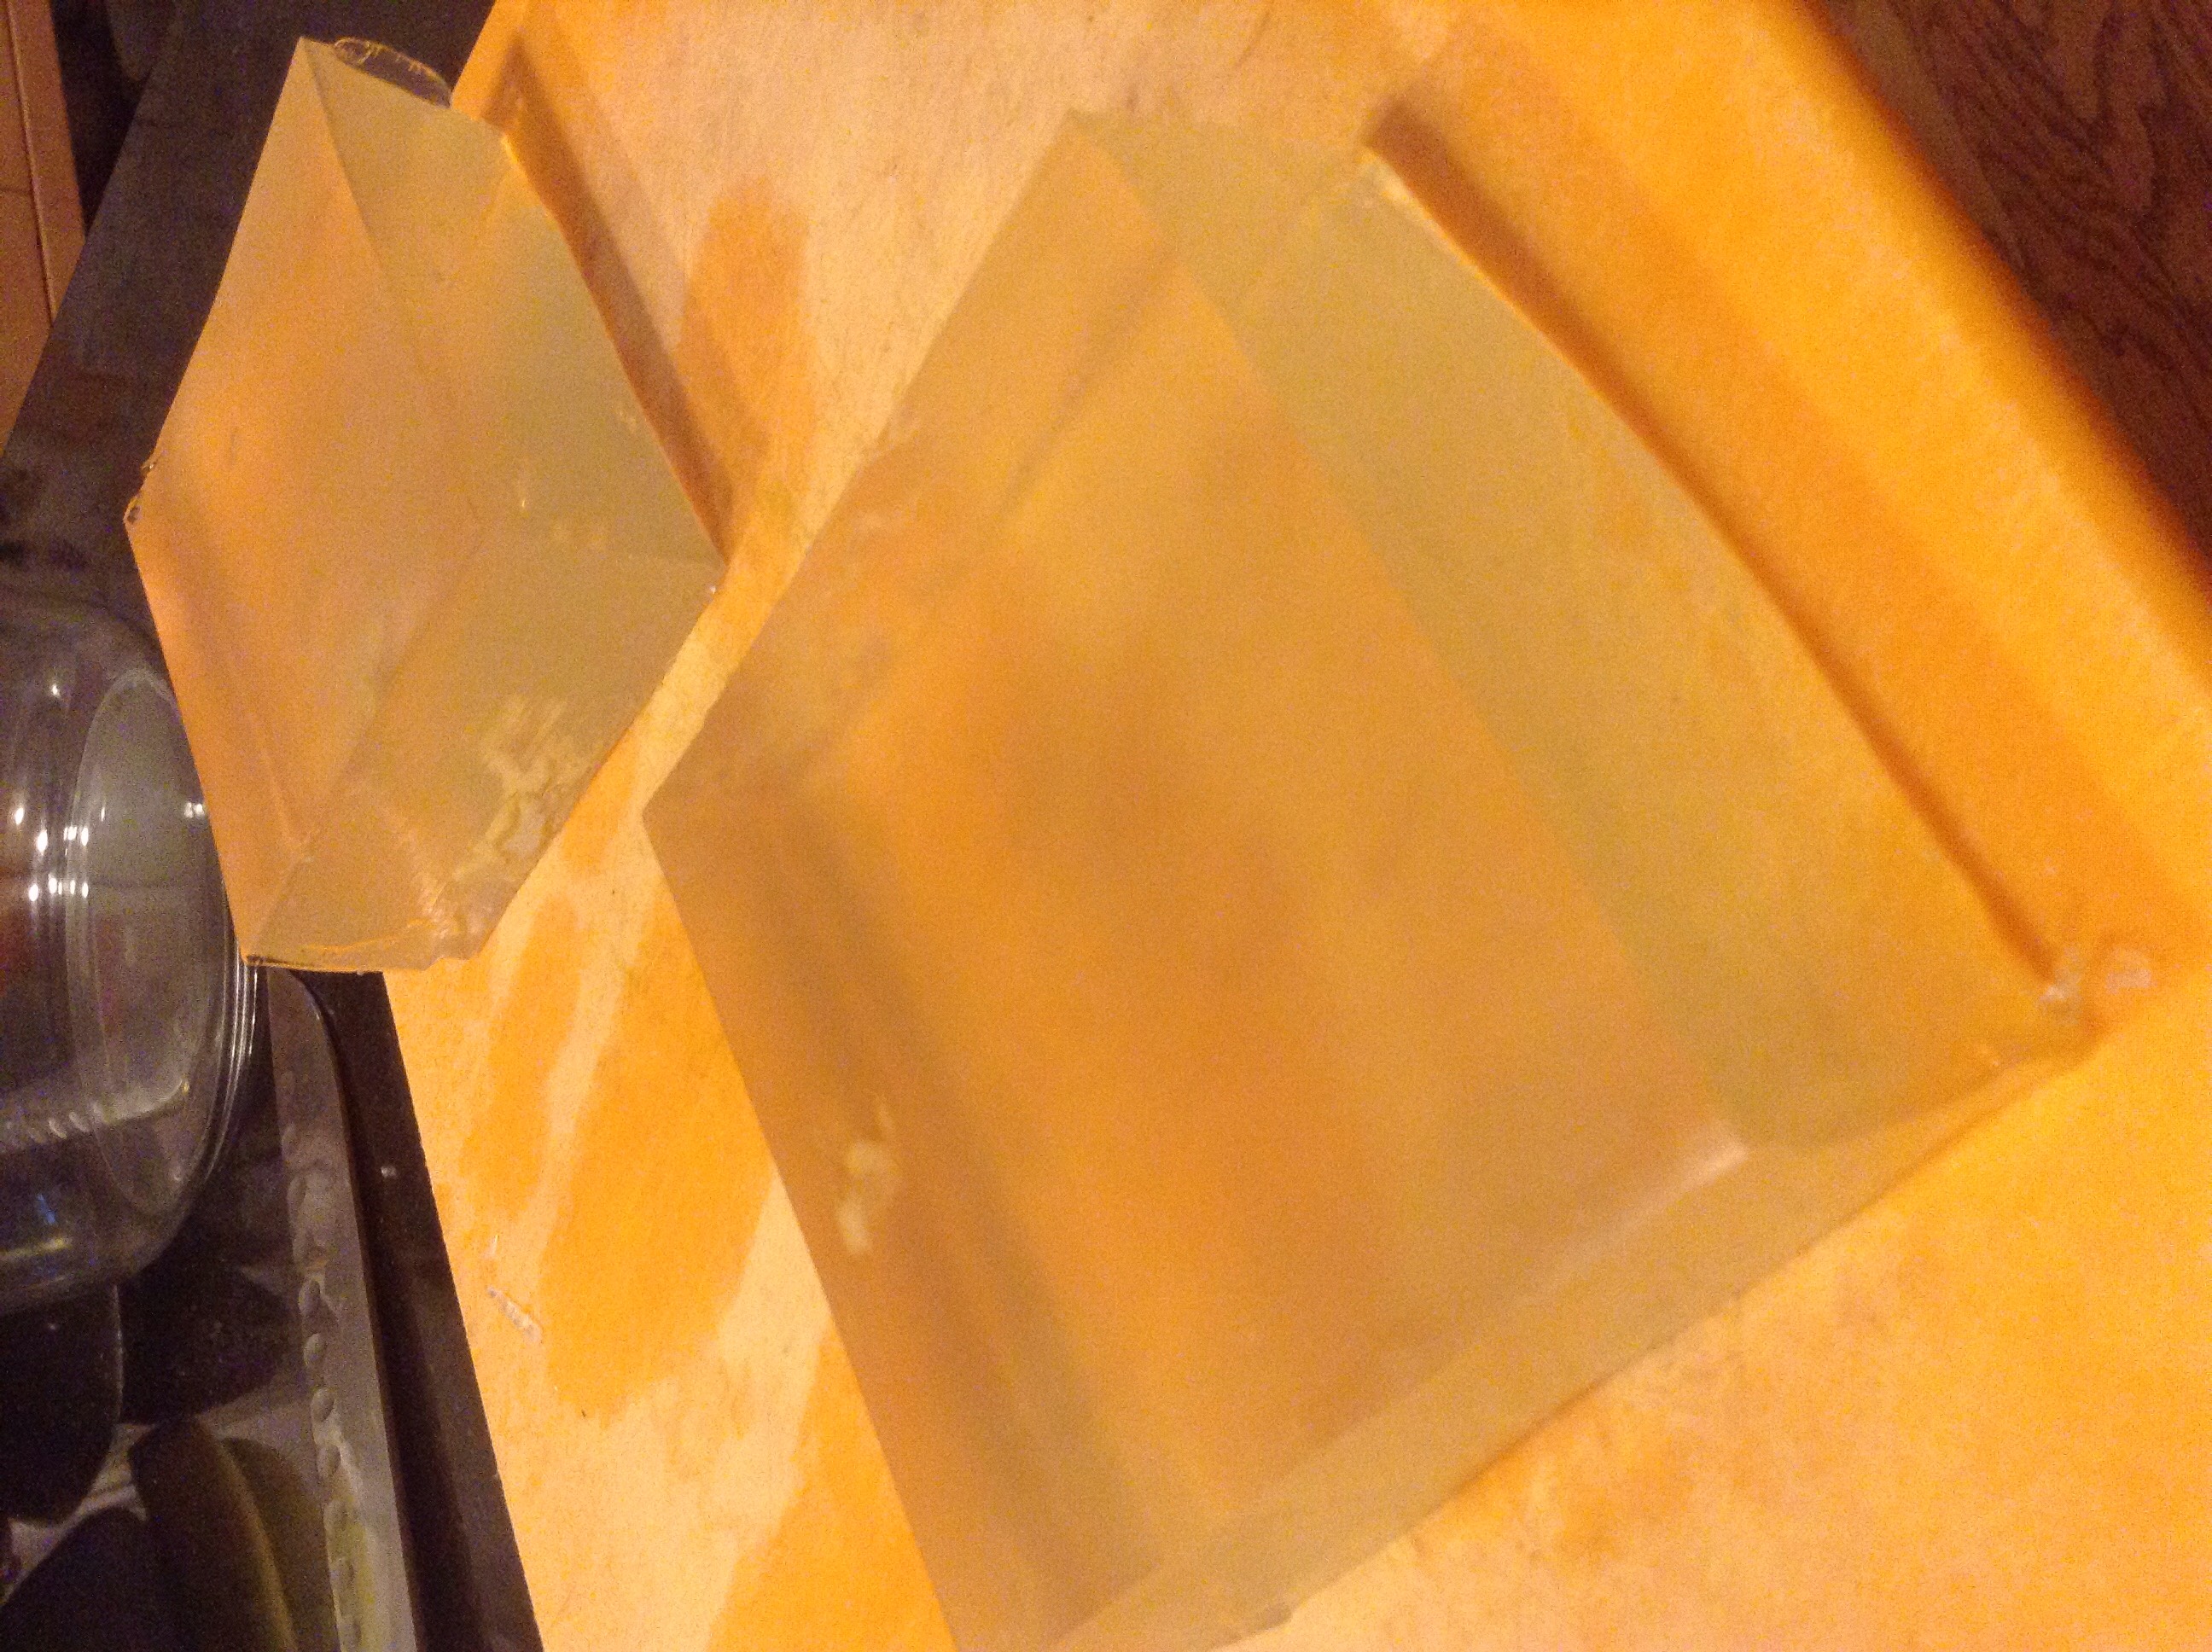
Step 8: Cut into squares.
Using a sharp, thin-bladed knife, cut into four 4x4 squares. If the squares are thicker than you need/want and you feel comfortable doing this, use a thin, long knife to slice the squares laterally, aka horizontally. If you have only one 8x8 pan that you can use at a time, this will double your yield and save time. Just remember that each pan of squares will need 3 hours in the fridge and plan accordingly.
Pre-laterally slicing the squares
Thank you for coming to my TED Talk about gelatin squares.
|